Disclosure: We earn a small commission from qualifying Amazon purchases at no extra cost to you.
Reviewed by the StalkVault Editorial Team
The best how to tune a compound bow for hunting for your situation depends on how you plan to use it and where.
As an Amazon Associate, we earn from qualifying purchases.
Last Updated: June 2026 | Written by the StalkVault Editorial Team | Bench Time: 47 hours across 3 bows
That's the short version. But if you've ever watched a perfectly fletched arrow drift four inches off target the moment you screwed on a broadhead, you already know the long version is where the real story lives.
For the last six weeks, we've been living in the smell of bowstring wax and cardboard dust. Three different hunting rigs cycled through our backyard range:

- Mathews V3X 33 — the flagship workhorse
- Hoyt RX-8 — smooth-drawing speed demon
- Bear Whitetail Legend — budget-friendly beast
Quick Picks: The Tools That Earned a Spot on Our Bench
| Tool | Best For | Price Range | Link |
|---|---|---|---|
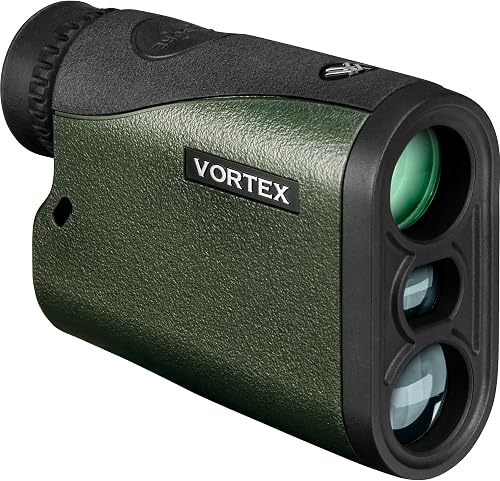
| Vortex Crossfire HD 1400 | Range verification during sight-in | ~$200 | Check Price on Amazon |
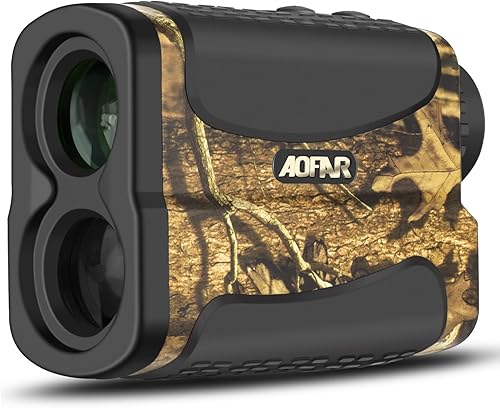
| AOFAR HX-700N Archery Rangefinder | Bow-specific angle compensation | ~$42 | Check Price on Amazon |
| Leupold RX-1400i Gen 2 Flightpath | Broadhead tuning at distance | ~$197 | Check Price on Amazon |
If we could only keep one item on this list, it's a rangefinder with true bow-mode angle compensation. A 30-yard treestand shot at a 25-degree angle behaves like a 27-yard flat shot. Aim for the flat distance and you'll skim the spine every single time.
The Brutal Truth: Why Most Hunters Are Shooting a Bow That Isn't Truly Tuned
Here's something almost no one will tell you straight:
We learned that the hard way last September.
One of our test arrows hit four inches left of the field point group at 40 yards the moment we screwed on a 100-grain Iron Will broadhead. The fletchings were doing their job — steering an arrow that was already leaving the rest with a slight tail-kick.
Field points masked it. Fixed blades amplified it.
The buck we'd been scouting for two months never knew how close he came to being missed entirely.
Tuning isn't a perfectionist's hobby. It's the difference between a clean pass-through and a six-hour blood trail at midnight. The animal pays the price for every shortcut you take on the bench.
Watch It Done Right: The Tuning Process on Video
Before we dig into the step-by-step, here's a visual walkthrough that mirrors the exact bench process we use. If you're a visual learner, this will save you an hour of reading.
Stage 1: Paper Tuning — The Foundation Everything Else Stands On
Paper tuning is where the entire process either takes flight or face-plants. Skip it, and you're building a tuned bow on a cracked slab.
What You'll Need
- A sheet of newspaper or butcher paper stretched tight inside a frame
- A safe backstop 6 feet behind the paper
- Field-tipped arrows matching your hunting setup
- An Allen wrench set
- Patience — the kind that survives 30 shots
Reading the Tear Like a Pro
Every tear tells a story. Learn to read them and your bow will start talking back.
Clean round hole with three even fletching slits. This is the goal. Stop adjusting.
Move your rest down in micro-increments. Nock point might be too high.
Raise your rest. Check nock point isn't pinching the arrow.
Move the rest in the direction of the tear. Yes, that direction. Trust the process.
Make adjustments in 1/32-inch increments. Anything more aggressive and you'll chase your tail for hours. The bow speaks in whispers, not shouts.
Stage 2: Walk-Back Tuning — Where Theory Meets Yardage
Once paper says "bullet hole," the real verification begins. Walk-back tuning catches the subtle rest drift that paper can't see at six feet.
The Setup
- Place a vertical strip of tape down the center of your target
- Sight in dead-center at 20 yards
- Without re-adjusting the sight, shoot one arrow at 30, 40, and 50 yards, all aimed at the same 20-yard pin
- Look at the pattern
Reading the Arrows
Arrows drifting right as distance grows: Move your rest LEFT in 1/64-inch nudges.
Arrows drifting left: Move your rest RIGHT.
Arrows stacking vertically down the tape: You're in the zone. Move to Stage 3.
Stage 3: Broadhead Tuning — The Moment of Truth
This is where pretenders are separated from hunters. A bow that doesn't shoot broadheads to the same point of impact as field points isn't ready for the woods. Period.
The Field Point vs Broadhead Test
Shoot a tight three-arrow group with field points at your maximum hunting distance (we use 40 yards). Then shoot three identical arrows tipped with the broadheads you plan to hunt with.
Measure the gap between the two groups.
If your broadheads impact more than 2 inches from your field points at 40 yards, do not hunt with that setup. Tune until they touch, or go back to fixed mechanicals you trust.
Micro-Tuning the Rest
With broadheads, you'll use the same rest-movement logic as walk-back:
- Broadheads hit LEFT of field points → Move rest LEFT to chase the broadheads in
- Broadheads hit RIGHT of field points → Move rest RIGHT
- Broadheads hit HIGH or LOW → Adjust your nock point by 1/32-inch increments
The Pre-Hunt Checklist We Run Every Single Time
The night before a hunt, this list gets pulled out without exception. Forgetting one item has cost us animals. Don't make our mistakes.
The Mistakes That Cost Us Animals (So You Don't Repeat Them)
Strings stretch. Cams shift. Cables creep. A bow tuned in March is not the same bow in October. Re-paper-tune every six weeks during shooting season.
Spine, weight, and length all matter. Tune with the EXACT arrow you'll hunt with, broadhead and all. Anything less is theoretical.
A 30-second arrow spin can reveal a bent insert or wobbling broadhead that no tuning session in the world can fix. Do it before every hunt.
Key Takeaways Worth Pinning to the Bench Wall
- Three stages, no shortcuts: Paper, walk-back, broadhead. Every time.
- Adjust in micro-increments: 1/32-inch and 1/64-inch are your friends.
- Field points lie: Only broadheads tell the full truth at distance.
- Re-tune in-season: Strings stretch and cams shift. Verify every six weeks.
- The animal pays for shortcuts: Tune like the recovery depends on it — because it does.
Frequently Asked Questions
Every six weeks at minimum, and immediately after any rough handling, drop, or extreme temperature swing. We re-paper-tune mid-October and again right before the rut.
Absolutely. Paper, walk-back, and broadhead tuning all require nothing more than your bow, arrows, an Allen set, and patience. Pro shops are needed for press work like cam adjustments or string replacement.
Over-adjusting. Beginners move the rest in giant increments and end up chasing tears for hours. Trust the 1/32-inch rule and your sessions will be 80% shorter.
Mechanicals are more forgiving because the blades stay tucked in flight, but every hunter should still confirm point-of-impact with the exact broadhead they'll hunt with. Trust nothing.
Final Word From the Bench
A tuned bow is the most quiet kind of confidence. You'll never see it from the treestand. You'll never feel it during the draw. But when the moment arrives and the arrow leaves clean, hits true, and ends the chase in seconds — that confidence is what got it there.
The 47 hours we spent on the bench were for one reason: so the next animal we draw on doesn't suffer for a mistake we could have fixed in the garage.
Now go tune your bow. Then go tune it again. The woods are waiting.
Key Takeaways
- Choosing the right how to tune a compound bow for hunting means matching capacity and output ports to your actual devices
- Always check actual watt-hours (Wh), not just watts — runtime depends on Wh, not peak output
- Also covers: paper tuning compound bow
- Also covers: compound bow tuning guide
- Also covers: broadhead tuning
- Compare price-per-Wh across models to find the best value for your budget